

A color darkroom print starts with a negative, an enlarger with a color head, and a sheet of RA-4 paper that won’t show you what you got until it comes out of the chemistry. Most color film shot today ends its life as a lab scan, so printing it by hand puts the color balance and density decisions back in your own hands.
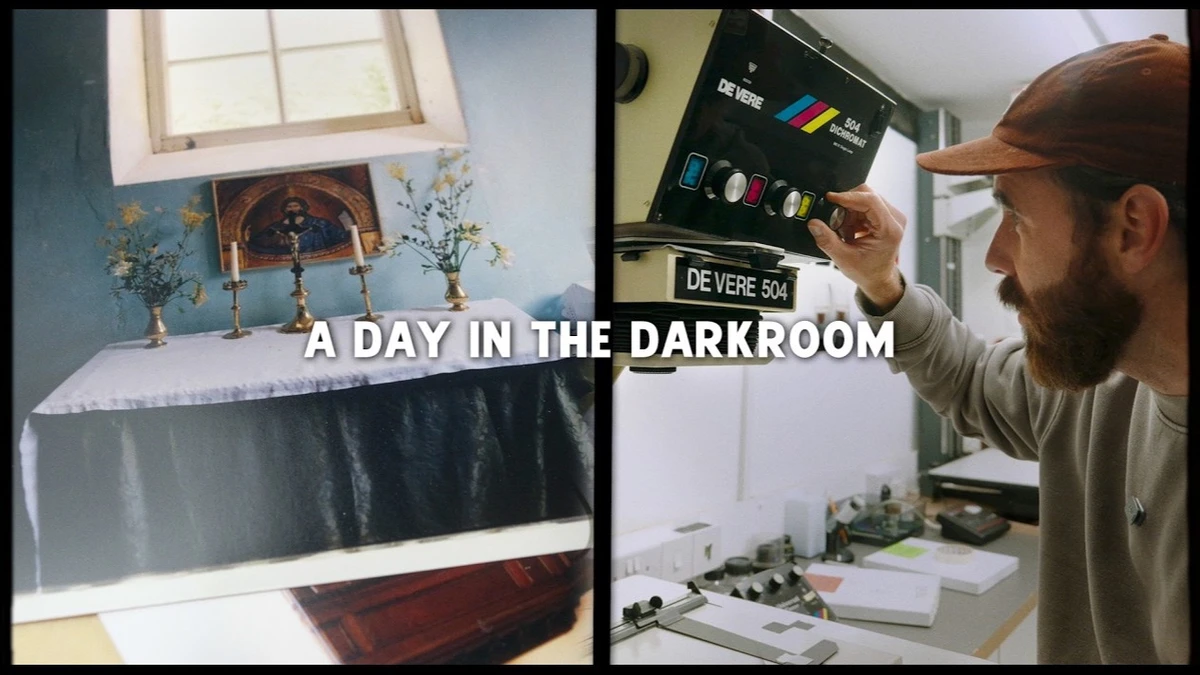
Six months after a first attempt that left him less than thrilled, Kyle McDougall returns to his studio darkroom to print images from his project on disused churches and chapels around the U.K. The plan is a zine or book with every select printed in the darkroom and then scanned for final output.
His main tool is a De Vere 504 enlarger, which takes negatives up to 5×4 and has cyan, magenta, and yellow dials on its color head. Paper goes through a Durst RCP 20 roller processor. The machine was built for a different chemical process and has been modified to run RA-4 at 35 degrees Celsius with the right timing. It pulls each sheet through developer, a water rinse, and bleach-fix, then pushes it out the far end. Only three steps happen in total darkness: putting paper in the easel, making the exposure, and feeding the sheet into the processor. Once the lid is closed, the lights come back on. Darkrooms that rent out time often have a Colenta, which he calls a much bigger and better machine built on the same idea, and he sees a processor like that as a good way into color because it simplifies things.
Instead of the standard approach of exposing a full sheet at different intervals, he works from test strips. His final prints go on matte Fujicolor Crystal Archive DP II, custom cut to 8×10 to fit the processor, while older, curly gloss DP II from the end of a roll is cut into thirds for test strips, so one sheet covers three tests. For the first negative, a doorway shot on Kodak Gold 200, he starts from a print he made the day before with the same film in similar interior light: f/16, 92 magenta, and 82 yellow, with 10 seconds of exposure instead of that print’s 11.3. The first strip lands close, though it runs a little dark and a little too magenta. Brightening it means less exposure time, so he drops to 9.5 seconds, and cutting magenta in the print means dialing more magenta into the head, so he goes from 92 to 95. That reversal is where it gets confusing when you start, because the filtration on the enlarger subtracts its own color from the print. He writes the settings on every strip, a habit he recommends because you can compare them all afterward as you make decisions.
The pink walls in that first chapel complicate everything. Sunlight bounces off green trees outside and pours through the window, so every move on the magenta dial shifts the walls and the light at the same time. McDougall works through three test strips and two full prints before settling on 93 magenta, 74 yellow, 10 seconds, and f/16, a filter pack that falls between his second and third strips. The second negative was shot upstairs in the same chapel, yet carrying over those final settings produces a first strip that is far too dark, too cool, and too magenta. He stops down to f/22 for a full stop less light, raises magenta on the head to 100, and drops yellow to 67 to warm it up, and the next strip’s exposure is nearly spot on, with good color. His third strip adds a 1.3-second warm pre-flash, a brief exposure of the paper under a second enlarger, which shows up most in the window highlights. The keeper uses the same yellow, exposure, and pre-flash with magenta at 96, which removes some of the green.
He squeezes in two more before the day ends. An exterior printed with the interior settings comes very close on the first strip, with the exposure right and a bit too much magenta, and the final print lands at 105 magenta. A last interior takes three test strips and only minor adjustments. After six prints, he’s more hooked than ever and plans to print the whole project this way. Even against the scans he gets from a Frontier, he finds a richness of color and tone in a darkroom print, and he likes having a process with no digital steps at all. His advice for anyone curious is to find a local darkroom, ideally one with a print processor, since it makes color less intimidating, and every session there teaches him a little more.
Because glare hides a lot on camera, he scanned the finished prints on a flatbed and shows them on screen throughout the video.